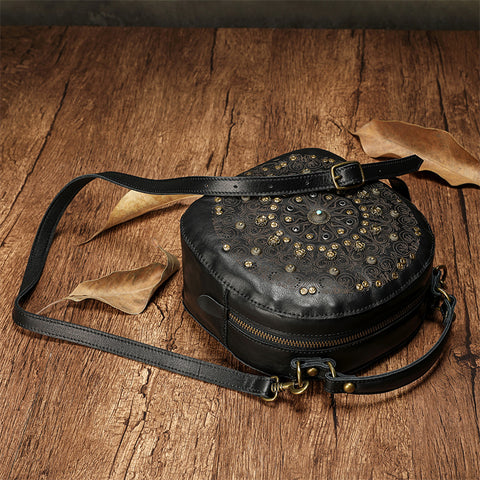
Making a leather bag is a rewarding craft project that allows you to create a custom and durable accessory. Here's a general guide to help you get started. Keep in mind that the specific steps may vary based on the bag design you choose.

Materials you'll need:


Step-by-step guide:
Design your bag: Decide on the size, shape, and style of your bag. Create a pattern on paper or use an existing template.
Prepare the leather: Place your pattern on the leather and trace around it. Use the cutting tool to cut out the leather pieces. Make sure to cut mirror images for the front and back of the bag.
Mark stitching lines: Use a ruler and compass to mark stitching lines along the edges of the leather pieces where they will be sewn together.
Make stitching holes: With an awl, punch evenly spaced stitching holes along the marked lines. Ensure the holes are consistent and align properly for clean stitching.
Stitching: Thread a large-eye needle with waxed thread. Start stitching the leather pieces together, using a saddle stitch for durability. Leathercraft tutorials can guide you through the stitching process if you're new to this technique.
Attach straps or handles (optional): If your bag design includes straps or handles, cut them out of leather or use pre-made ones. Attach them securely to the bag following the pattern instructions.
Add closures (optional): If you want to include buckles, clasps, or other closures, follow the manufacturer's instructions to attach them securely to the bag.
Edge finishing: Use an edge beveler to smooth the raw edges of the leather for a polished look.
Dye and finish: If you want to add color to your bag, use leather dye. Apply a few coats and let it dry between each coat. Once you're satisfied with the color, apply a leather finish or conditioner to protect the leather and give it a nice sheen.
Final touches: Trim any loose threads and inspect the bag for any imperfections or areas that may need touch-ups.

Remember to take your time and work carefully, especially when cutting and stitching the leather. Practice on small projects before attempting more complex bag designs. The more you practice, the better your skills will become, allowing you to create beautiful and functional leather bags.
